Now Reading: Boxing Workout at Home: A 30-Minute Beginner Routine (No Ring Needed)
-
01
Boxing Workout at Home: A 30-Minute Beginner Routine (No Ring Needed)
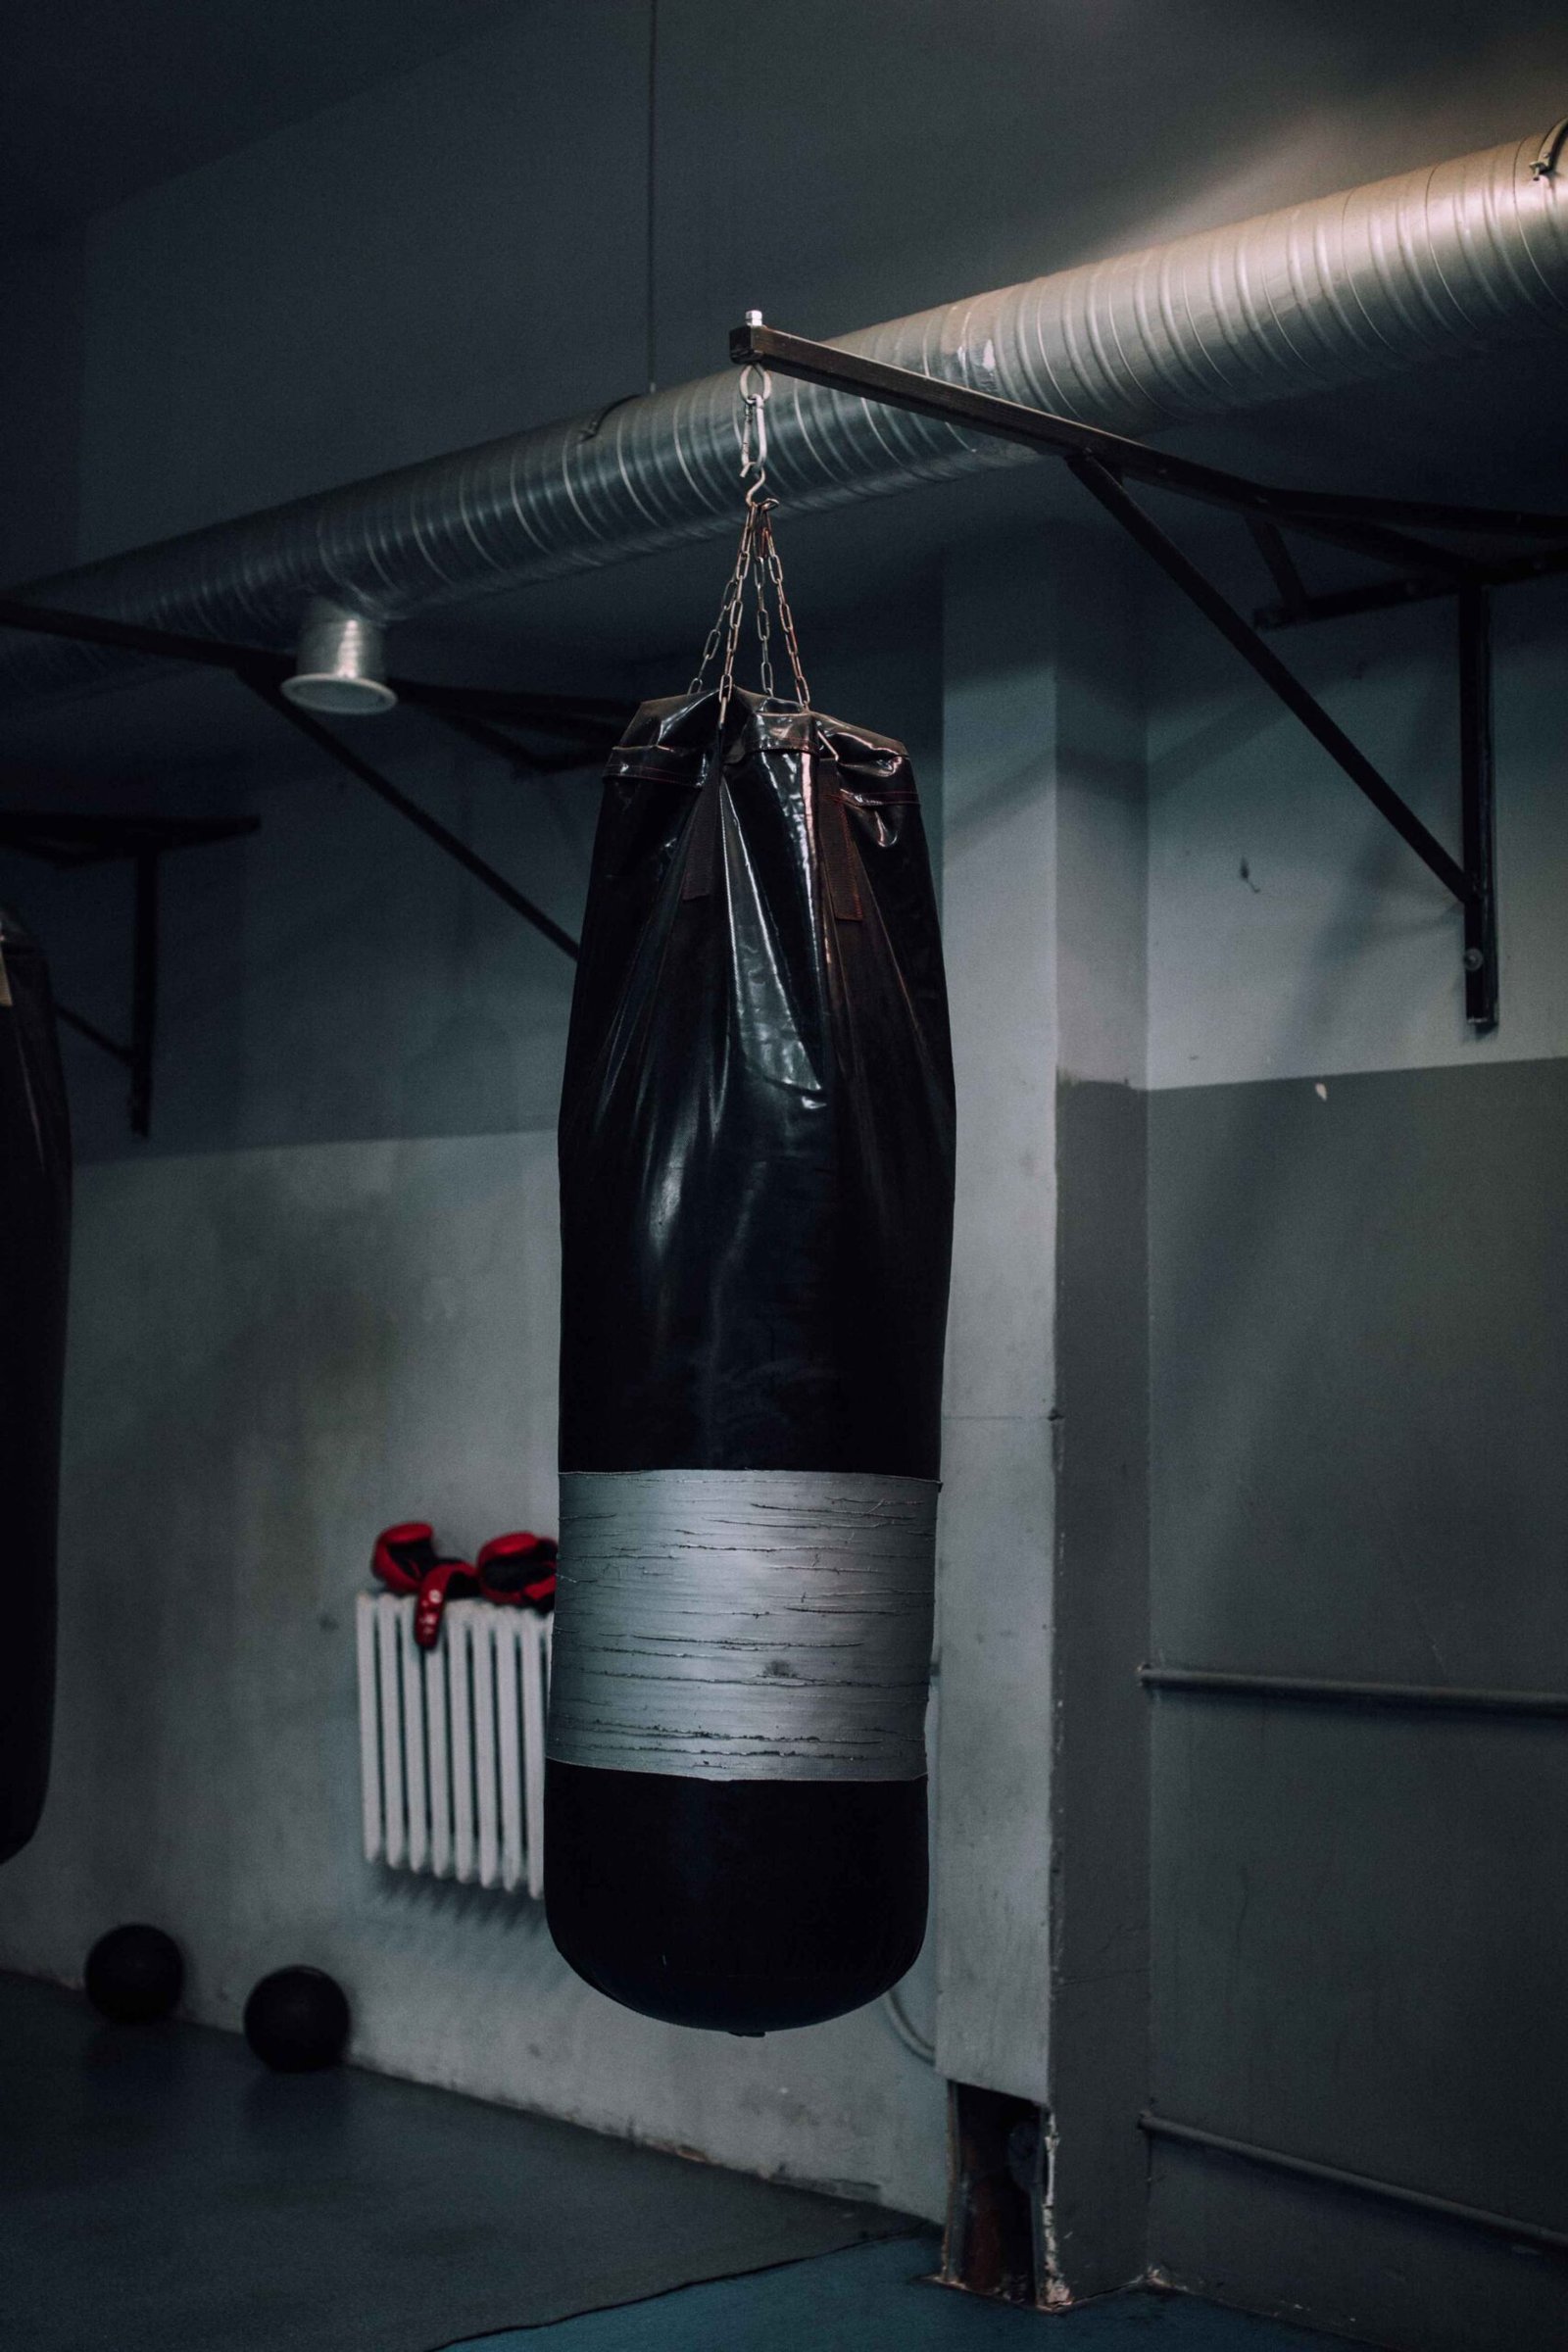
Clear some space in your living room, put your phone where you can hear the timer, and get ready to move. For this workout, you just need room and two simple punches. You don’t need a bag, gloves, or jump rope right now.
This workout takes 30 minutes. Start with a 5-minute warm-up, then do 8 rounds of 90 seconds of work and 60 seconds of rest, and finish with a 5-minute cool down. You’ll be shadow boxing the whole time, so there’s no jumping, sparring, or contact.
Download the printable workout card and keep it by your timer. Read the movement instructions before you start, since the card is just a reminder for your session.
What do you need for a boxing workout at home?
Make sure you’re on a non-slip, stable surface and wear shoes that won’t slide as you move. Move any furniture, loose rugs, or cables out of the way. Check that your arms and steps won’t hit walls, lights, people, or pets.
Have some water nearby. Set your timer for 8 rounds of 90 seconds of work and 60 seconds of rest, including the last rest. Time your warm-up and cool-down on their own.
Don’t use dumbbells for this session. You’re learning to coordinate your stance, punches, and return to guard, and adding weight would make it harder.
Keep your effort easy to moderate. The CDC’s ‘talk test’ says moderate activity means you can talk but not sing, which is just right for your first session. If you’re too out of breath to talk, slow down or take a break.
How do you stand and throw the punches?
Practice these moves slowly before you start the timed workout. The tips below come from England Boxing’s coaching handbook, which focuses on balance, simple combinations, and feedback for beginners. An instructor can help with details that written instructions might miss.
Find your stance and guard
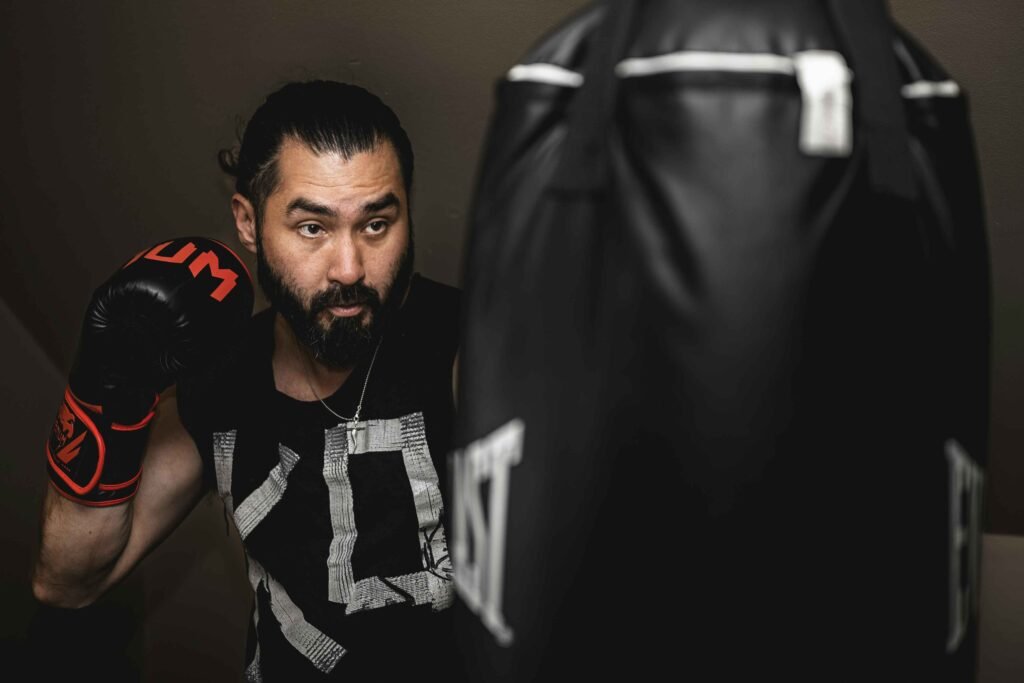
Stand with your feet about shoulder-width apart, and put one foot a small step behind the other. If you’re right-handed, put your left foot forward; if you’re left-handed, do the opposite. Your front side is your lead side, and your back side is your rear side.
Keep your knees relaxed, chin slightly down, hands near your cheeks, and elbows close to your body. Find a position you can hold without leaning forward or backward.
Learn the jab and cross
The jab (number 1) is a straight punch with your lead hand. Throw it smoothly, keep your rear hand close to your face, and bring your lead hand back to guard after each punch.
The cross (2) is a straight punch with your rear hand. Push through your back foot, hip, and shoulder, then return to guard. Keep your wrist straight and don’t lean past your base.
Breathe out with each punch. When you punch the air, use control and don’t snap your elbow all the way out.
Add a small step
Step first with the foot closest to the direction you want to go, then bring the other foot in. Keep your feet apart and don’t cross them. Practice stepping by itself first, then add punches.
How does the 30 minute routine work?
The schedule below is a beginner session built around a few repeatable moves. It’s not a clinical protocol or an official England Boxing workout. Keep your punches comfortable and give yourself time to reset between combinations.
| Time | Activity | Focus |
| 0:00–5:00 | Warm-up | Gradually add movement |
| 5:00–7:30 | Round 1 and recovery | Stance and small steps |
| 7:30–10:00 | Round 2 and recovery | Single jabs |
| 10:00–12:30 | Round 3 and recovery | Jab–cross: 1–2 |
| 12:30–15:00 | Round 4 and recovery | Double jab: 1–1 |
| 15:00–17:30 | Round 5 and recovery | Double jab–cross: 1–1–2 |
| 17:30–20:00 | Round 6 and recovery | 1–2, reset, step back |
| 20:00–22:30 | Round 7 and recovery | Alternate 1–1 and 1–2 |
| 22:30–25:00 | Round 8 and recovery | Choose a familiar combination |
| 25:00–30:00 | Cool-down | Gradually ease the pace |
Each round has 90 seconds of practice and 60 seconds of rest. The last rest is part of the 20-minute main section. Take extra breaks whenever you need them, even if it means finishing later.
Minutes 0–5: Warm up
For the first two minutes, walk or march gently. In the third minute, add some easy shoulder circles and relaxed arm movements. In the fourth minute, practice your stance and take small steps forward and back. In the last minute, do slow single jabs with pauses to reset.
Your breathing should increase gradually. The AHA recommend 5 to 10 minutes of warm up. If you’re still feeling stiff and unprepared after 5 minutes then just extend that section and reduce the rounds section.
Round 1: Stance and small steps
Don’t throw any punches in this round. Take a small step forward, settle into your stance, then move back. Add a step to either side if you have room.
Use the pauses to check your balance. Can you stop without rocking or bringing your feet together? If not, take smaller steps. During the rest minute, let your arms relax and walk if you feel comfortable.
Round 2: Single jabs
Throw one easy jab, return to guard, and pause. Repeat at a pace where each punch is finished before you start the next.
Focus on bringing your hand back to your cheek. If your shoulder rises toward your ear or your arm feels heavy, take a break. The timer will let you know when the round is over, so you don’t need to punch the whole time.
Round 3: Jab–cross, or 1–2
Throw a jab, then a cross. Return to guard and pause before repeating. If it helps, quietly say “one, two” to keep the sequence clear.
Use the first half of the round to get comfortable with the sequence. In the second half, keep the same pace and notice if the rear hand punch is pulling you forward. If you lose your balance, shorten your reach.
Round 4: Double jab, or 1–1
Use your lead hand for two punches, bringing it back to guard between each one. Reset after both punches. Keep your back hand close to your cheek the whole time.
It’s easy to rush a double jab since the same arm moves twice. Make sure each punch comes back to guard instead of leaving your arm out for two quick pushes.
Round 5: Double jab–cross, or 1–1–2
Put the last two patterns together: jab, jab, cross, then pause. Start slowly so you can remember which hand comes next.
If the third punch makes things messy, just do 1-2 for the rest of the round. There’s no need to make it harder while you’re still learning the basics.
Round 6: Jab–cross, reset, step back
Throw a 1-2, bring both hands back to guard, then take a small step back. Pause and check your stance before moving forward to where you started.
For beginners, finish the punches before stepping. If you don’t have much space or feel unsteady, just stay in place and do 1-2 with a longer pause.
Round 7: Alternate two combinations
Do 1–1, reset, then 1–2 and reset. Keep alternating between these two patterns.
In this round, you’re just choosing between two patterns, not adding a new punch. If you get mixed up, just start again with a double jab. Keep the pace slow enough to focus on your feet and guard.
Round 8: Choose your cleanest combination
Choose single jabs, 1–1, 1–2, or 1–1–2. Pick the pattern you can repeat with the most control today.
Keep the last 30 seconds steady. Finish in the same balanced stance as in round one, then take your full recovery minute before cooling down.
Minutes 25–30: Cool down
Walk slowly and gradually slow down your pace. Let your arms hang and your breathing return to normal. Avoid stopping suddenly after working hard.
The AHA recommends winding down over 5 to 10 minutes. If you need more time, keep doing gentle exercise after the session ends. Then, finish with some comfortable stretches (avoid any painful positions).
How can you make the workout easier or harder?
To make it easier, do 30 seconds of work and 120 seconds of rest in each round. Eight rounds will still take 20 minutes. Keep your recovery gentle—stand comfortably or walk slowly as needed.
You can also do four rounds instead of eight, while still including the warm-up and cool-down. That makes a 20-minute session. A shorter, comfortable session will help you learn what works for you next time.
To progress, focus on smoother movements: fewer balance corrections, always returning to guard, and breathing that settles during rest. Do several sessions comfortably, then change one thing (like adding small steps between combinations). Keep the recovery periods while you’re learning.
Boxing practice leaves time for other activities. If you want a separate strength-training plan, check out our full body workout guide for organizing resistance exercises. Don’t add another workout just because this one felt easy.
Can you turn this into a boxing bag workout?
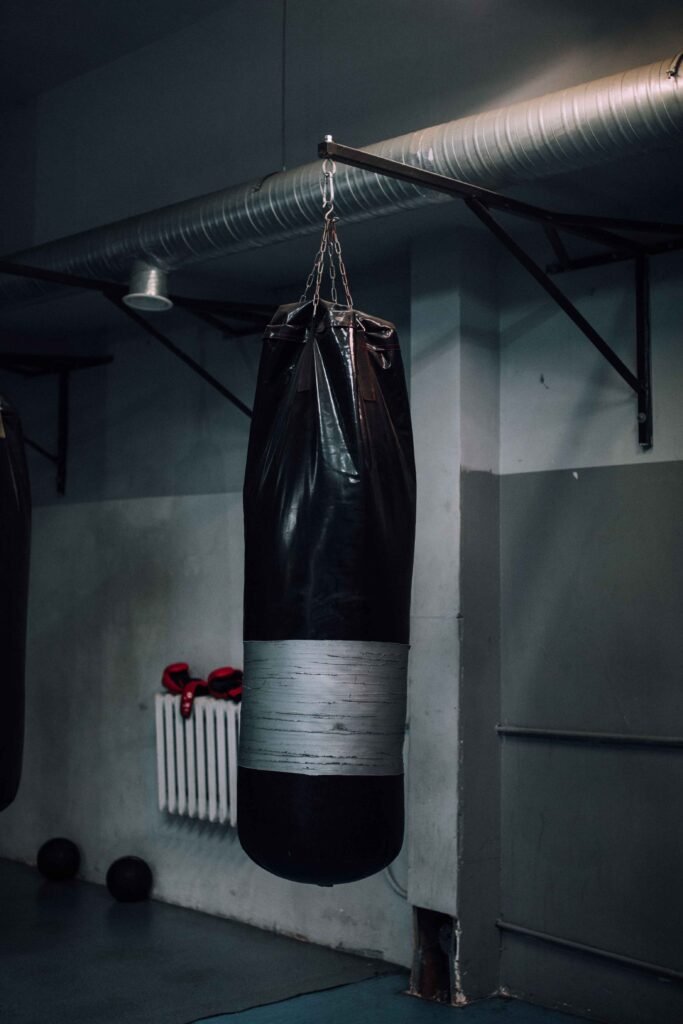
A bag workout adds impact and requires equipment. Don’t expect your punches to feel the same when you hit resistance.
Before you use a bag, have a properly qualified boxing coach check your punching mechanics, your wraps, your gloves and your distance. Use a properly installed bag with sufficient clearance and follow the manufacturer’s instructions. Never use a wall, a door or some piece of furniture as a substitute.
Once you’ve had proper instruction, you can use the round themes as prompts for light bag work. Start with short, controlled sequences and reset when the bag swings away. If you feel any pain in your hand, wrist, elbow, or shoulder, stop and get it checked. Shadow boxing is a complete alternative for this session.
How can boxing be part of recovery?
Having a scheduled session can give structure to your afternoon. You can note which round felt comfortable, pack up your equipment, and get on with your day. You don’t have to finish feeling exhausted.
If you want company or coaching, our guide to boxing programs for addiction recovery offers tips on how to begin. When looking at classes, ask about beginner instruction, non-contact options, and any other support you might need.
Keep movement as part of your existing recovery support and care. If boxing seems too stimulating or just plain boring then feel free to pick something else; our stress reducing exercises article has a number of very gentle alternatives (walking and stretching for example).
When is it a good idea to get professional advice?
If you have a medical condition, an injury, balance issues or are at all uncertain about the safety of exercise then you should ask a health professional about what activity would be appropriate for you prior to using the routine. NIDDK’s guidance on starting physical activity is to start slowly and to get individual advice for any health problems or disabilities.
Stop if you feel pain, dizziness, or unusual shortness of breath. Get urgent medical help if you have chest pain, faint, or have serious trouble breathing. If you feel unwell during withdrawal, seek medical advice instead of relying only on exercise.
A boxing coach can help with movement problems, like a wrist that bends, feet that cross, or losing balance during a cross. Bring one clear question to your first lesson. This gives you a specific goal to focus on when you practice again.
Sources
- England Boxing: Boxing Coaching Handbook, Part 1, particularly stance and movement, straight punches, and shadow boxing, printed pages 68–75 and 94–95. Technique principles; the timed routine is an original editorial arrangement.
- CDC: How to Measure Physical Activity Intensity. Talk test and relative effort.
- American Heart Association: Warm Up, Cool Down. Gradual warm-up and cool-down timing.
- NIDDK: Tips for Starting Physical Activity. Gradual progression and advice for health conditions or disabilities.

Hi, I’m Kristi Jenkins, a passionate blogger and content writer with a love for storytelling. With years of experience in writing engaging and insightful articles, I focus on topics like mental health, lifestyle, and personal growth. My goal is to create content that inspires, educates, and connects with readers on a deeper level.